What Are The Most Essential Tools For Beginner Leatherworkers?
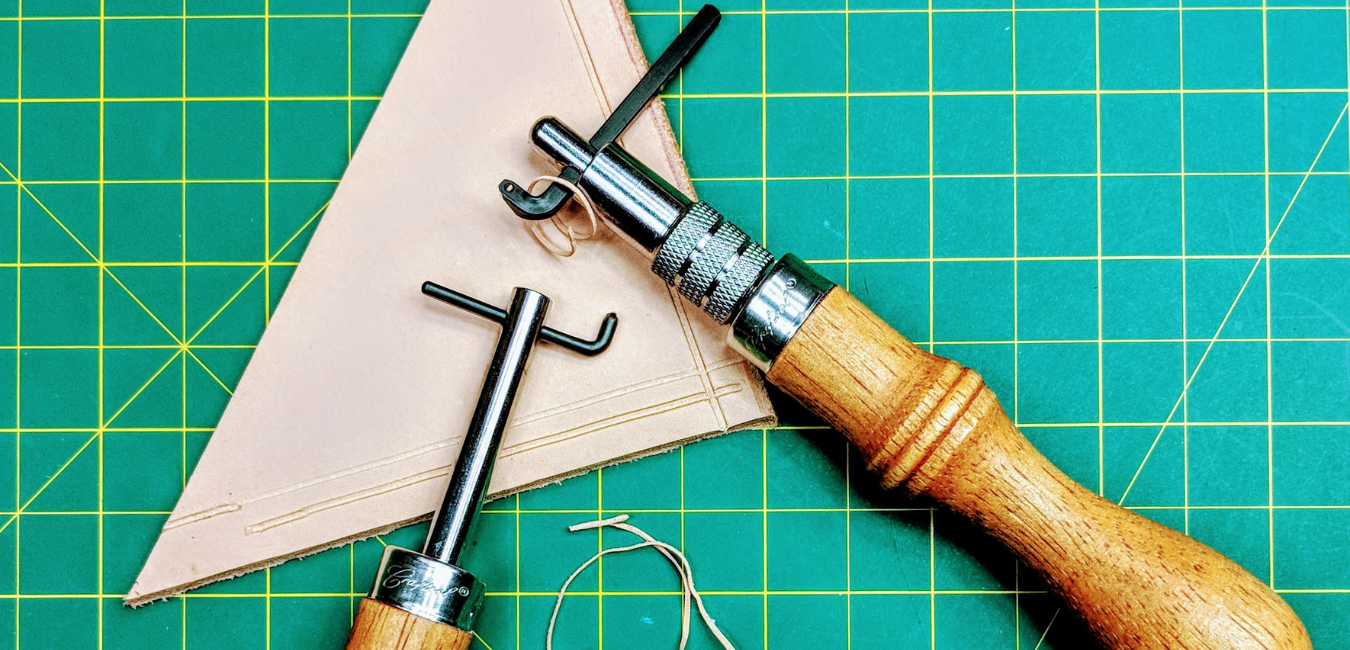
Leatherwork can easily become a lifelong passion. However, it can feel a little intimidating when you are just starting out.
Especially when looking at the price tags of leatherworking tools.
The good news is that when you are just starting out, there is no need to splurge and buy every tool out there. As a matter of fact, it is safer to start with a smaller tool kit until you are sure this is a hobby you want to grow!
This list here is what we see as some of the best tools to have to start out with, for most forms of leathercraft.
Cutting Tool
First off, you are going to need a tool to cut your leather.
You may likely have something in your shop right now that will work for starting out.
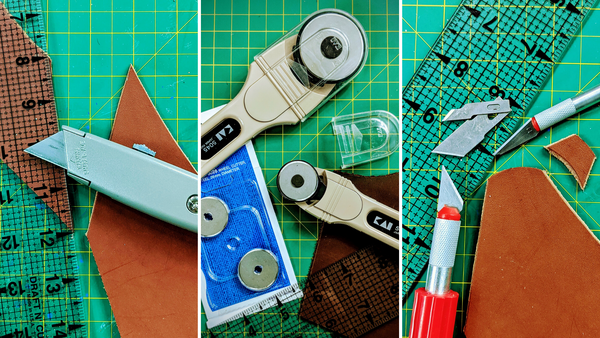
Utility knives are actually fairly popular among a large number of our customers. With regular blade replacement, they are plenty sharp to cut through some of the thickest leather. Plus, they're inexpensive and have a great many other uses.
Precision knives (like an X-acto) are amazing for smaller, more exact cuts.
Rotary cutters are also incredibly handy to have in your kit. You will see them used at most fabric stores for cutting through fabric in a quick straight line. They will also work this way for leather. The best part is that you can push the rotary blade instead of pull, which can help you get a little leverage in thicker leathers!
Using any one of these with a t-square or ruler will allow you to make quick, clean cuts.
Cutting Mat
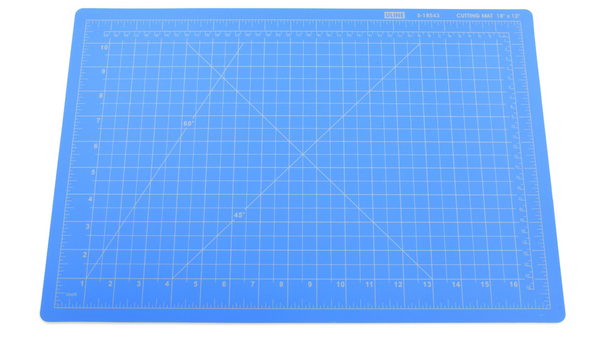
Having a good surface to work on is important. Self-healing mats are a great work surface for cutting on as they can stand up to most cutting tools.
This will ensure that wherever you are working is protected from knife slips or finish spills.
You’ll also find them useful as they are typically covered in rulers and straight edges that make it helpful to line up your tools to your leather. Plus they won’t dull your tools as quickly as most surfaces might.
Scratch Awl
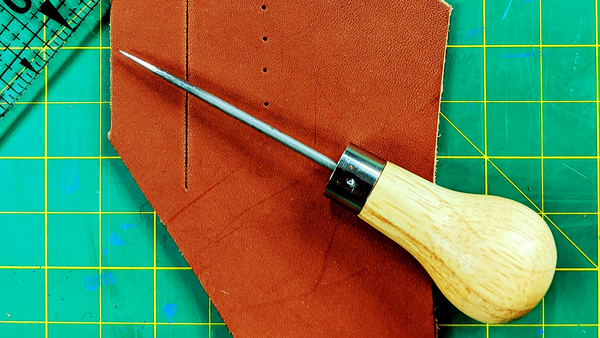
This tool looks very simple, but it is invaluable to have around the shop.
Awls come in a variety of shapes and sizes. The shaft of the awl starts at a fine, sharp point, and widens as it approaches the handle.
You can use awls to punch small holes or create scratch lines for stitching or tooling guidance. You can also use it while hand stitching to help get your needle and thread through a stitch hole that is a little too tight.
If you're getting ready to apply some glue or cement, you can use it to rough up your surface of the leather so it adheres better.
It is very likely you will find a number of your own uses for it!
Hole Punch

While we did just say you can punch holes with the scratch awl, those holes won’t quite be enough for setting most hardware, such as snaps or rivets.
These tools allow you to create a perfect hole every time, in a number of useful sizes.
Aside from setting hardware, you can make belt or lacing holes. They can even be used to add a little extra design to your pieces.
You will see some punch sets out there that require a mallet and each size punch is an individual piece, but when you are just starting out, having your punches all in one tool is very handy. Plus, it is quieter.
Bear in mind, if you are setting hardware in the middle of a large piece of leather, the individual punches will be much more useful if you are having to choose between which punches to buy first.
Stitching Needles and Thread
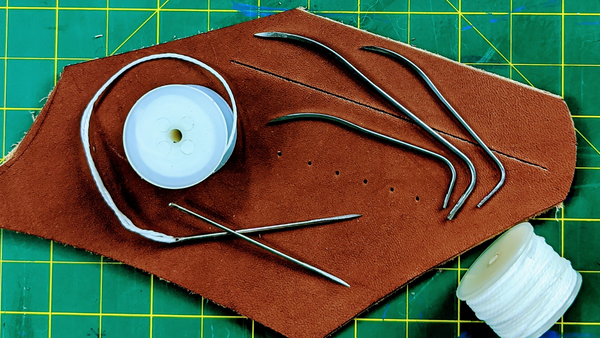
If you plan on hand stitching your leather project you are going to need a good needle, one that is strong enough to go through your leather.
A tripoint (or cutting) needle is made to push right through thick and heavy materials. If you are stitching right into the leather with no guide holes, these are going to be your best option. When new and sharp, they will glide right through the leather. Glovers needles are a great straight needle with a tripoint, but the curved taxidermy needles give your thumb a little more leverage when pushing the needle through.
Waxed or bonded nylon threads work wonderfully with hand stitching because the thread will glide through the leather with little to no resistance.
For more traditional projects, sinew works wonderfully as well due to its waxy nature.
Both types of thread can be finished with a lighter, by gently melting and sealing the ends of the thread so they don't fray or unravel.
Leather Cement
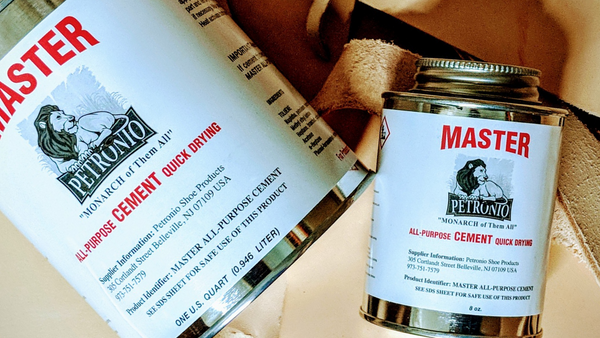
Glue is wonderful to have on hand for those projects where you want to bond layers, but not necessarily stitch them together. Or, if you’re just not comfortable with your hand stitching game yet, this will help you finish some of your projects.
When applied properly, leather cement can have a darn near-permanent bond.
It is also a good practice to glue together your layers you DO intend on stitching. This not only helps create a stronger bond but also ensures that your layers do not shift on you while stitching or tooling.
Mallet
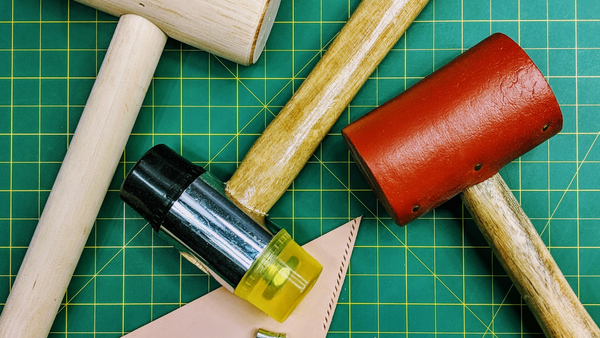
A wooden or rubber mallet is also something you may already have in your shop.
When setting hardware, you will need to have one of these on hand for just about everything! If you decide to advance into leather tooling and stamping, most of those tools will also require a good mallet.
Avoid using a metal hammer on any of your leather tools. As most of them will be metal themselves, using a metal hammer or mallet can warp and damage them. You may be more likely to injure yourself as well, so safety first!
Once you get to the point where you are using a mallet, you’ll also want to look into getting yourself a marble or granite slab (or something similar) at some point.
Leatherworkers like to have a hard surface under their leather to keep the bounce back in their work surface to a minimum and ensure that their tools stay where they are as they hammer them. You don’t want your setter to bounce around on you and cause your hardware to set incorrectly!
The following tools are not absolute necessities when starting out, but they are tools to consider getting sooner rather than later. They will definitely elevate the look of your projects!
Edge Beveller
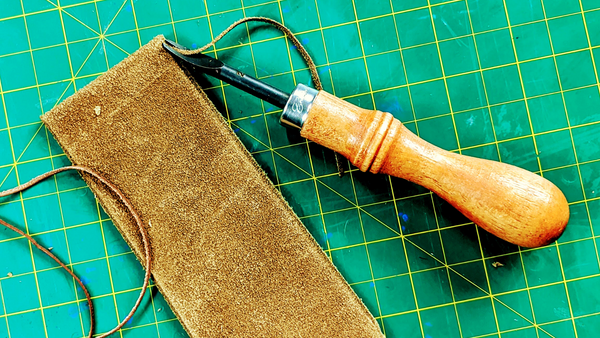
An edging tool will help provide a polished appearance to even your most basic leatherwork.
This tool allows you to remove hard corners and edges, giving them a more rounded look. This is helpful when you begin finishing the edges of your project.
We've seen folks with very steady hands do this with a utility knife or an X-Acto, but if you feel like you don't trust your hands not to slip or are planning on doing lots of edgework, this tool will be a big time saver!
Burnishing Tool/Edge Slicker
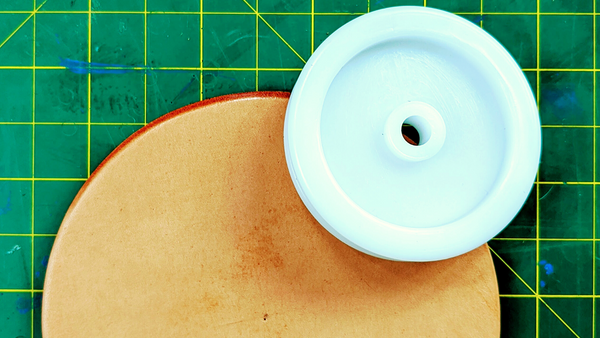
This tool helps you in burnishing the edges of your piece. It works by creating friction that will round your edges while smoothing the fibers in the leather.
Do this enough and you can achieve a nice natural sheen on the edges (like in the picture above). You can also apply finishes like Gum Tragacanth to help speed up this process.
Leather Groover
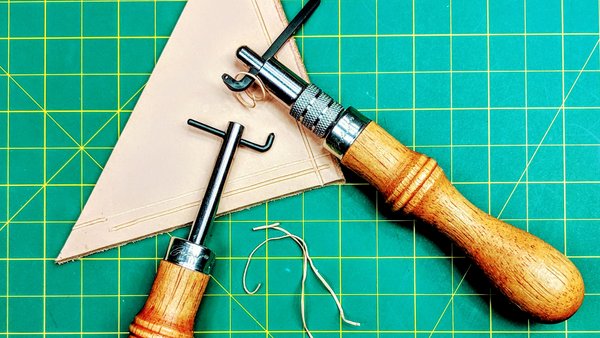
If you are jumping right into hand stitching and are concerned about getting your lines straight, this tool will be very helpful.
It creates a grooved, straight line for you to stitch in. It removes some of the bulk of the leather at your stitch line, which will make it a little easier to punch through with your needle.
It also recesses your stitching into the leather, providing a smoother look and protecting your stitch work.
Here’s a tip for you (if you aren’t ready to buy a groover yet), people have used forks for this purpose before. A regular old fork from your kitchen. The fork may not create a nice clean groove, but it can make an evenly spaced line demarcation for you to follow with your stitching tools, without having to use a ruler each time.
Place the fork's outside prong on the leather, and use the next prong in as your guide against the straight edge of your leather. Apply a little pressure and drag it. Those prongs can also help you mark stitching holes evenly. But use it more as a guide and not a punch. Forks won't hold up to being jammed through your leather. Plus using a tool for an unintended use can lead to injury!
Diamond Chisel
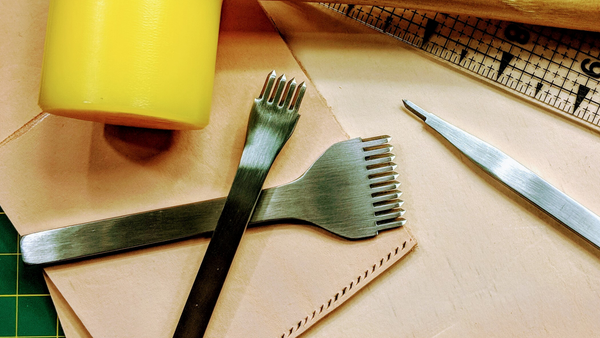
This is yet another tool to ensure your stitching is straight as an arrow.
You use this chisel to prick your stitching holes beforehand, spacing them perfectly, and making it even easier to move your needles through your leather.
The larger tools can allow you to punch upwards of 10 holes at once. This can be a great time saver when you start working on larger projects.
If you don't like the slant of the diamond chisel, there are other shapes of leather chisel available. Many like the angle of the diamond because it allows for a more even saddle stitch, while others like the clean look of round stitch holes.
Leather Tooling Stamps and Swivel Knife
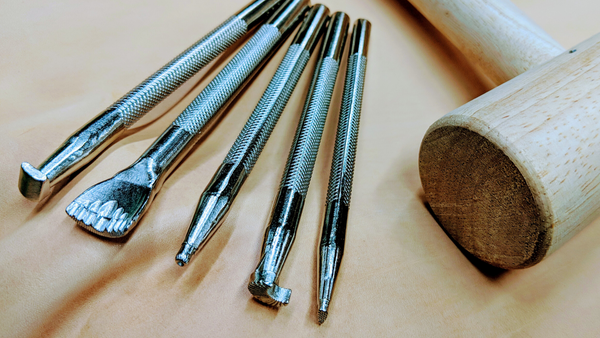
Should you decide you want to start tooling and carving your leather, these are an absolute must.
Start out with the most basic shapes in your stamps to get yourself familiar with the process. This is where the mallet we mentioned earlier really comes into play. You will be using it a lot. Once you decide to start adding to your tool collection, you may even consider upgrading to a maul for your stamping projects.
Using a swivel knife is an art and takes quite a bit of practice, but the end results are really cool. Partnered with your stamps, you can create some amazing three-dimensional looking pieces!
These are some of the best tools to start out with, without making a massive investment.
As you build your leather skills you will find more and more tools that appeal to you and address issues or concerns that come up as you try new projects. But we can just about guarantee the tools on this list will always be useful to have in your toolbox, no matter how advanced you get!
Now that you know some basic tools, do you need to know what leather to use for your first project? Read our "What Leather Should I Use?" guide to get an idea!
Show us what you make, we love to see a finished project! Email us at sales@theleatherguy.org or tag us on Facebook and Instagram with @theleatherguymn

