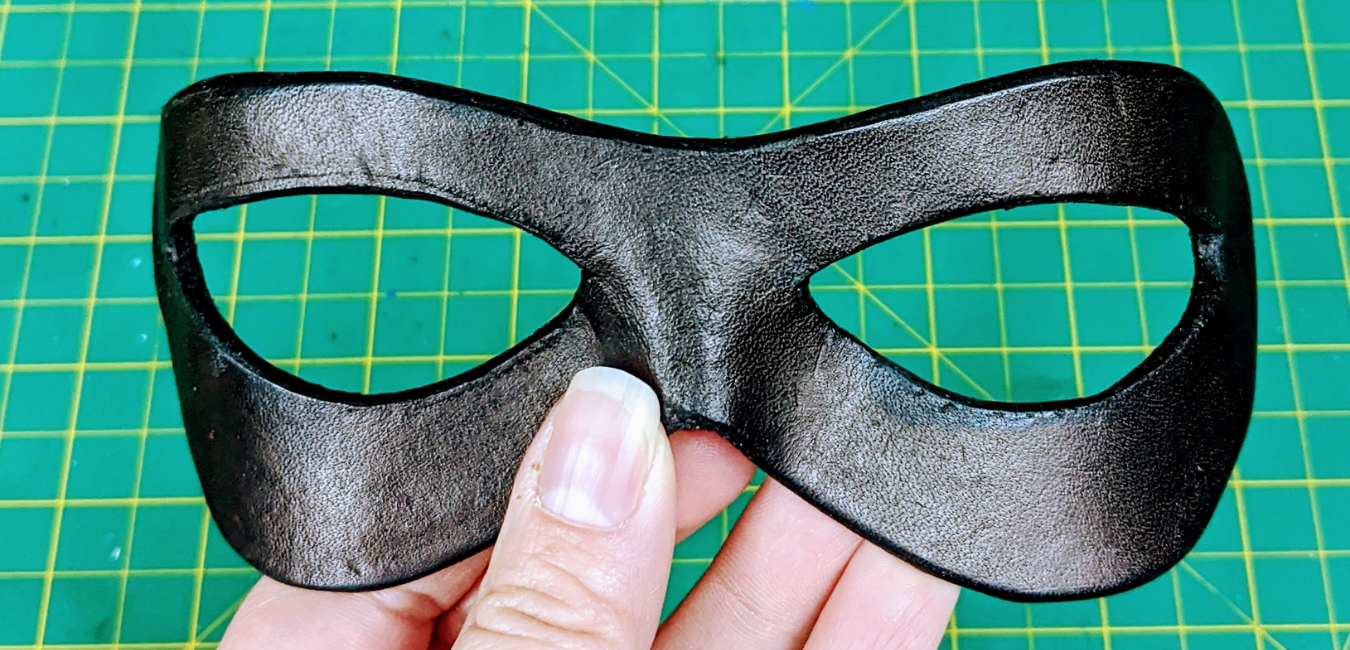
How-To Make A Wet Molded Leather Mask

Do you have a costume party coming up? Are you looking for a quick and easy costume that you can make with a couple pieces of leather you have lying around?

Supplies:
Vegetable Tanned Leather 2-4 oz
Mask Template
Gum Tragacanth (or something similar)
Sandpaper
Utility Knife

To start, you will need to create your mask template from some cardstock. I made mine to look like an old school robber mask that I intend to stick to my face with spirit gum.
Using a fabric measuring tape, measure your face and get a good idea for how large you want your mask to be. Draw out your desired shape on the cardstock.
You could also lay your paper across your face and make marks with a pen where you want the mask to fit on your face. If you have a face casting around, that would make this even easier!
When you are happy with your mask design, cut it out with a pair of scissors and trace the mask onto your leather with a pen or pencil.
Cut out your mask shape with a utility knife, or a very sharp pair of leather/fabric scissors. If you have any difficulty cutting out the eye holes, I used a leather punch to add a small hole in the corner of each one so I had somewhere to start my cut.
Now you should have a flat version of your mask, ready to be molded.

You’ll need to soak your leather in water, back and front. This will open up the fibers in the leather and make them very pliable. If it’s too dry, you won’t be able to shape it.
Leather molding is somewhat like working with clay. You have a flat piece of leather you need to give shape to, and with a few folds and pinches, the leather will fairly easily bend to your design will.
As your face is not flat, you will want to produce a nice curve to the mask, so it will sit snugly. You also need to create space for the bridge of your nose.
Folding and pinching the mask in the middle will give you a nice space for your nose. Gently folding the leather over your finger from center to outside corners will give your mask that curve.
I would periodically place the leather on my face to ensure I was getting the right shape. When you are happy with how it fits, you will need to set the mask aside to dry again (depending on how wet your leather was, this could take several hours). I propped it up on a hammer so that it would risk falling flat while it dried.

Now that the mask is dry (you can tell by touch and that it has returned to its light, natural color), you will want to clean up the edges. If your initial cuts left things a little uneven, take some sandpaper or an emery board, and even them out. This will help with the symmetry of your mask, and make your cuts look a bit cleaner.
Do not worry about the edges looking a little fuzzy after sanding, you will fix that in an upcoming step!

Now I am going to dye my mask. This is completely optional. If you would prefer your mask have the natural leather color, keep it that way. However, since I am doing a robber mask, I am going to dye it black. If you are unsure about how to dye leather, check out our Blog here.
Simply apply dye to your dauber, and evenly spread it over the entirety of the mask, front, edges, and back. This may take multiple coats to reach a color you want to achieve.
Once the dye has dried, you will want to use a clean rag or cloth and buff the mask. This will remove any excess pigment from the mask, and ensure it doesn’t transfer to you while wearing it.

Finally, we are going to burnish the mask and make it look polished and finished. Again, this is optional. If you prefer your mask to have a more worn or rugged appearance, the nap of the leather may be just what you are going for.
To start, I applied Gum Tragacanth to the edges of my mask. I added it in small amounts, and focused on smoothing specific spots, before moving on to the next and applying more Gum. I used a burnishing wheel for the outside of the mask, and a wooden burnishing tool for the nose and eye holes.
The wooden tool has a taped dowel-like handle, which allowed for it to fit in smaller spaces. It allowed me to angle in the corners of the eye holes, and maintain the shape of the nose by working with the shape, not against it.
It doesn’t take a lot of time to get the edges smoothed nicely, and the fly-away nap tamed. Just a little elbow grease.
To finish, I applied a coat of gum to the entire back of the mask, to give it a nice smooth feel and to create a barrier between my skin and the leather.

And there you have it, a finished wet form leather mask, handmade and ready to stand the test of time.
Apply some spirit gum and adhere it to your face, or attach leather laces to tie it around your head. Mount it to a wooden handle for a classic masquerade look.
Make it on a smaller scale for kid or pet costumes. Add jewels, studs, or fabric and lace. Mold other shapes to attach to it. Paint numerous colors instead of dyeing the leather.
The options are vast for making your mask one of a kind.
And once you’ve dabbled with wet molding, you can start making structured leather bags, knife sheaths, and more!

