

How-To Easily Apply and Troubleshoot Fiebings Resolene

Resolene is an incredibly useful leather sealer. However, it can be a little persnickety when it comes to application. But that’s only if you don’t know all the tricks of the trade! So don’t sweat it, we’re here to help.

What is Resolene?
Fiebing's Acrylic Resolene Finish is a thin, flexible, durable, water resistant, and uv resistant acrylic finish, used for sealing the surface of leather goods.
How do you apply Resolene?
Well, there are several ways to apply your finish, so let’s talk about each option!
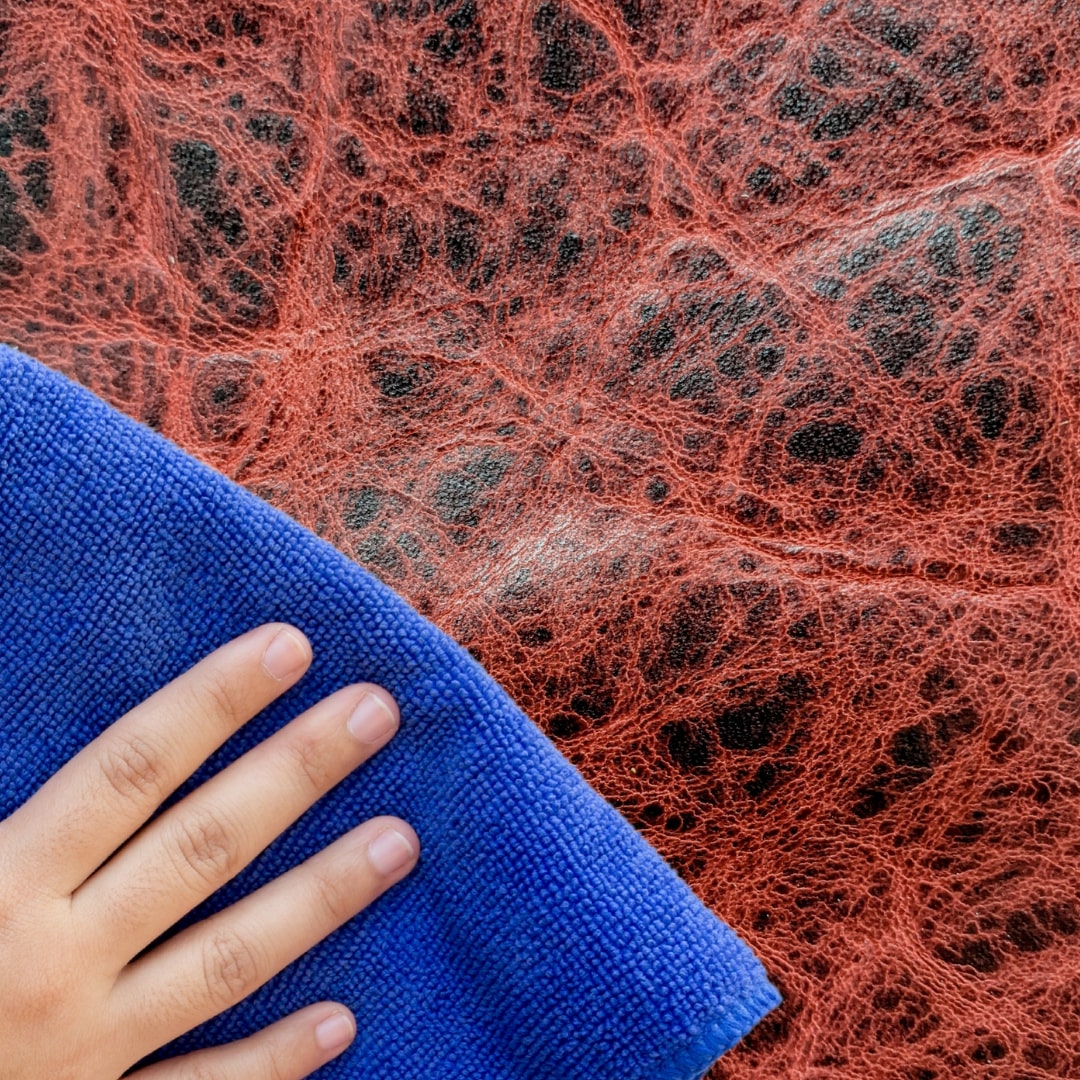
First things first, before applying any type of product on your leather, you need to make sure that the surface is clean and free of dust and dirt.
Use a clean cloth or sheep’s wool to wipe the leather down in several directions to remove any debris or dirt. If you are applying the finish on top of freshly dyed or antiqued leather, be sure the dye is totally dry, then buff it until the cloth or wool no longer picks up color.
Now that your leather is prepped, let’s discuss the different ways to apply your Resolene.

Thinning Down Your Finish
It can be easy to overapply your leather finish with a brush, dauber, or sponge so we recommend thinning your resolene before you start. Don’t worry, you can do this with regular old tap water so there is no extra cost there.
How much to thin it is often a personal choice. Fiebing’s themselves recommend 15-30% dilution. Leatherworker forums and groups out there almost always recommend 50% resolene with 50% water. You will want to experiment with some scrap to decide what mix works best for you!
It should be noted that the more you dilute the finish, the less coverage each layer will give you. But as best practice is to apply several thin layers, this won’t be a problem with multiple passes! And hey, an added bonus is that thinning your finish also makes the bottle last longer, so less need to keep restocking!


Use a Sponge, Brush, or Cloth
Now that your finish is prepped, let’s get it applied to your leather.
Check your applicators for any lint of fuzz. To be safe, you could always use a lint remover or some tape to make sure the applicators are clear. If you get any fuzz or hair in your resolene, it is very noticeable once dry!
As we mentioned earlier, resolene should be applied in thin, light coats. Lightly dip your sponge or dauber into the finish and squeeze out any excess. You could also use a damp sponge to keep it from soaking up too much resolene.
If you find any patches that feel particularly dry or stiff the next morning, go ahead and spot treat with some more of your conditioner to soften the leather and you should be good to go!
Begin to apply the finish in circular motions to avoid streaks. You can go in multiple directions to spread it across the surface of your leather.
Once you have the first layer applied lightly, let it dry completely before applying the next one.
Watch for bubbles appearing on the surface of the leather. These can leave odd marks and rings if not worked out before the drying process.
Use The Dipping Method
If you are familiar with dip dyeing, this is pretty much the same process! This process can save a lot of time, but may not be the best option for completed leather projects.
Fill a container large enough for the leather you wish to finish with your diluted resolene and submerge it completely in the mixture.
Remove it from the dip and wipe off all the excess with a clean, lint free cloth or sponge. Allow it to dry and dip again if needed.

Applying Resolene With An Airbrush
Many leatherworkers you talk to will tell you that the only way to apply resolene is by airbrush. The main reason being that you just cannot get as thin and even a layer of finish as you can with the light spritz of the airbrush.
If you do not have an airbrush, no worries! With all the steps mentioned above and a little practice, you can get a great finish. But if you’re intrigued by the airbrush, you can get relatively inexpensive ones via Harbor Freight or Amazon. They won’t be the best quality for longevity, but they will be perfect to start out with!
The exact instructions for your specific airbrush will vary, so be sure to read your user’s guide. But we can give you a general idea of how to do it.
To start, this method will work best with your leather being flat so you don’t have any product run while spraying.
Just like every other method, you will need to dilute the resolene. 50/50 will likely work here, but again we suggest checking your user manual.
Set your airbrush and compressor to 30-40 PSI. If you set too strong, you may not get an even coat. If you set too low, you may have the product glob out instead of a fine spray.
And finally, spray the finish lightly over the leather. Start the spray off to the side of the leather and then evenly go back and forth until you have a full coat down. Allow it to air dry, then apply another layer if needed.
Finish The Finish
Once dry, Resolene will have a mellow shine. However, should you decide to put a little extra elbow grease in, you could buff the dry finish to a higher shine.
Grab yourself a clean cloth or shammy and buff away at the finish until you are happy with the smoothness and the shine.
If you’re looking for a high gloss finish, you could apply a little neutral shoe polish on top of the resolene to really kick up the glow.
And after all that, you have a leather project protected with a durable, water resistant, acrylic coat.
Troubleshooting Resolene Issues
Why is my resolene is cracking when I bend or flex my leather?
The most common culprit for this overapplication. If you put on too thick a coat of resolene, and/or you didn’t dilute it, it can crack once dry. If the resolene cracks almost immediately, your project isn’t a total loss yet.
You can attempt to remove the resolene with a deglazer or acetone. Be mindful that this can affect the dye under the resolene. It may become patchy or lighten in color and require redyeing. If you have paint under the resolene, this will likely damage your work.
Be sure to master your resolene application before applying it to anything you have tooled or hand painted. It would be a shame to ruin something you put so much time into because you rushed your finish. Give yourself the time and prep to succeed with it!
Why is my resolene tacky and sticky?
You likely did not let your leather dye or paint dry completely. To prevent tacky build up on top of your project, let your dyes and paints dry for 24 hours before attempting to apply your finish. Resolene applied on top of even minimally wet dye or paint will pick up and smear the color. It will not dry itself, becoming very sticky and ruining your project.